The Taranto raid
In the night between the 11th and 12th November 1940, the British Royal Navy launched its famous raid against the Italian fleet at anchor in Taranto. The Swordfish torpedo bombers managed to hit three Italian battleships: Littorio, Duilio and Conte di Cavour. The raid temporarily halved the strength of the Italian battle fleet and forced the Regia Marina to relocate its forces to the base of Naples temporarily.
Contrary to some long-lasting myths, the result of the raid did not prevent the Italian ships from venturing at sea in the coming months, nor it did have any impact on the convoys destined for Libya. For instance, Rommel’s Afrika Korps and new Italian mobile units (like the Trieste and Ariete divisions) were transferred to Libya in the first months of 1941.
Anyway, the British raid managed to hit and sink in the harbour three battleships, and in this article, we will take a look at their damages and the Italian efforts in salvaging them.
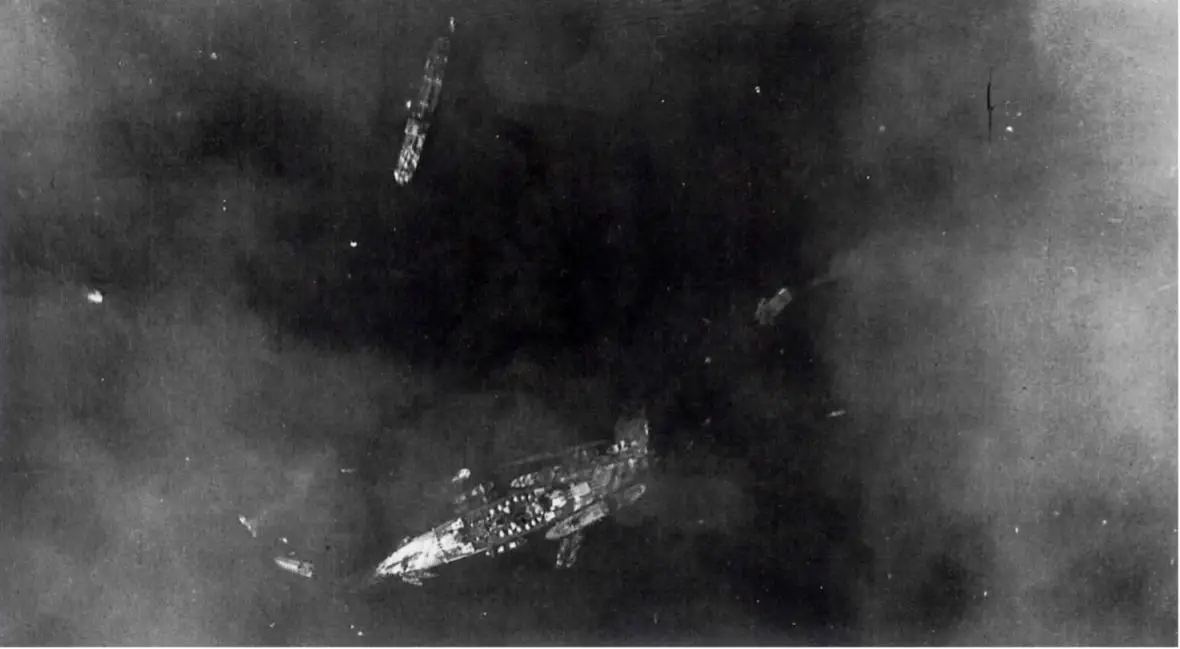
Figure 1 Aerial view of battleship Littorio semi-sunk
Battleship Littorio
The most valuable ship damaged during the raid was certainly the Littorio, one of the brand-new Italian battleships, that had recently entered service and was largely unmatched in the Mediterranean theatre. The ship had received three torpedo hits in the attack. At 23:15, the first one struck below turret n.1 on the starboard side. This hit occurred at the limit of the area protected by the torpedo defence system. Seconds later, the second torpedo struck at the extreme stern, on the port side. These two hits did not compromise the ship and no serious countermeasures were required.
At 23:59, came the third hit, which opened a huge hole in the bow section outside the area protected by the Pugliese system. The water started to flood the ship and caused failures in the electrical apparatus that knocked out some of the water pumps. Around 4.00 AM, the situation was deteriorating, with the bow slowly sinking. Captain Girosi ordered to strand the ship in the shallow waters northwest of the Mar Grande. The operation was completed at 6.27 AM.
The Regia Marina obviously prioritized the salvage of the Littorio and works immediately began to pump out water and repair damaged sections. The hole in the aft section was repaired but those towards the bow could not since they remained submerged. The plan was to disentangle the bow from the muddy seabed and refloat the ship with a combination of heavy weights on the stern and thrust cylinders attached to the bow sides. In early December the Littorio was finally freed and put into the Taranto drydock “Ferrati”. Repairs went on swiftly, also utilizing components originally destined for battleship Impero (still uncompleted) such as the main rudder and the fire control computer (damaged by the concussion). The Littorio came out of drydock on the 19th of March 1941 and returned to active service in April.
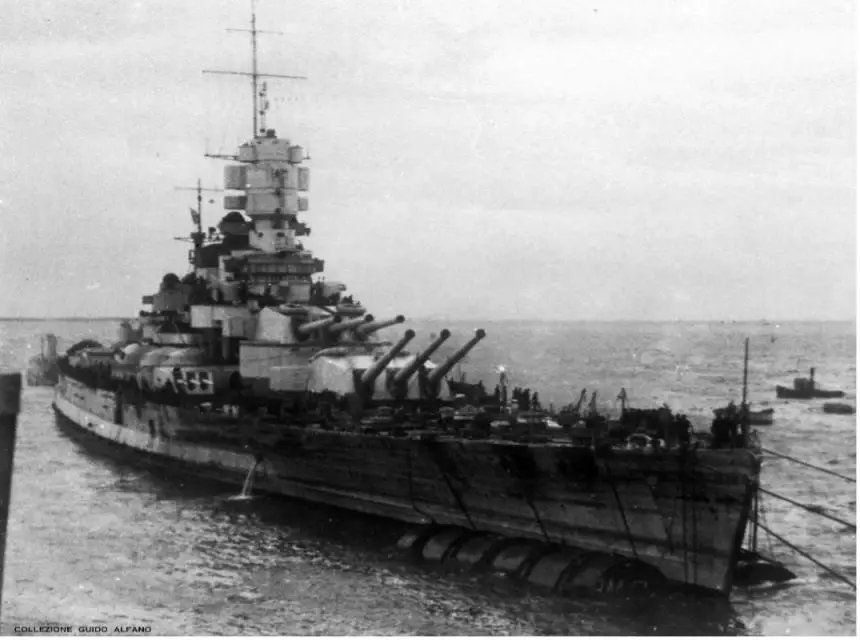
Figure 2 Battleship Littorio heading for drydock at Taranto
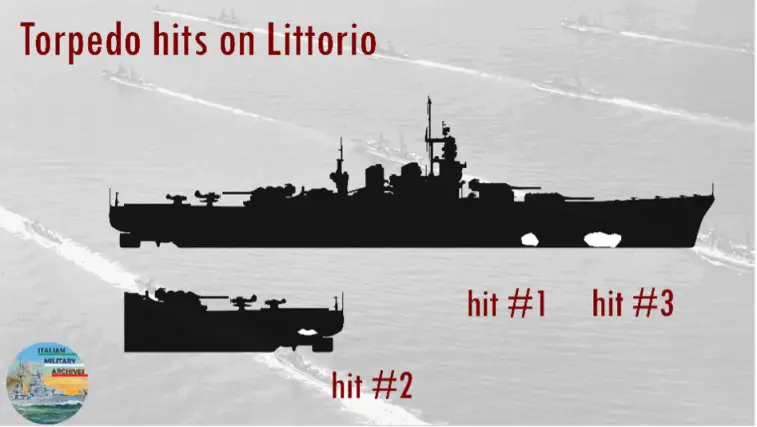
Figure 3 Torpedo hits on Littorio
Battleship Duilio
The Duilio, one of the four modernized dreadnoughts of WW1 era, was hit by a torpedo that had exploded below the keel, thanks to the magnetic fuse. The explosion occurred right below turret n.2 and caused the flooding of the shell magazines, as well as breaking a section of the keel. With the keel partially broken, additional repairs were needed before entering drydock. Water was progressively pumped out and compartments made waterproof.
A purpose-built steel module having the shape of the hull section damaged in the explosion was tied to the hull in order to facilitate repairs to the keel and the expulsion of the last hundred tons of water. At the end of January 1941, the Duilio had been refloated and departed Taranto with destination Genova. During the transfer voyage, the ship managed to sustain a speed of 16 knots and in early February entered in drydock for the final repairs. She spent 3 months there and rejoined the fleet in May 1941.
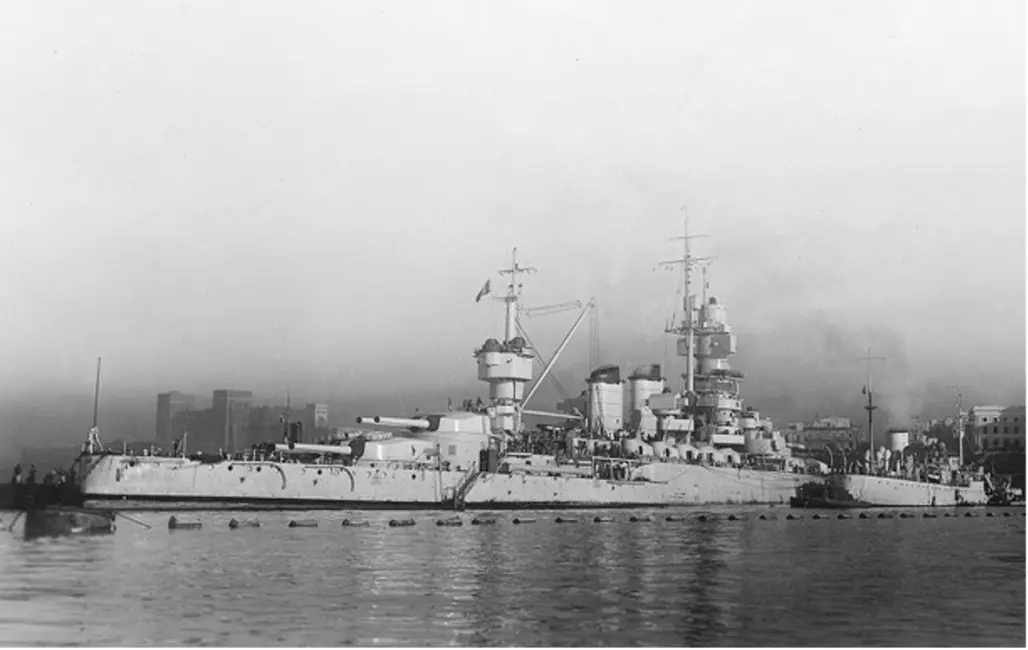
Figure 4 Battleship Duilio semi-sunk
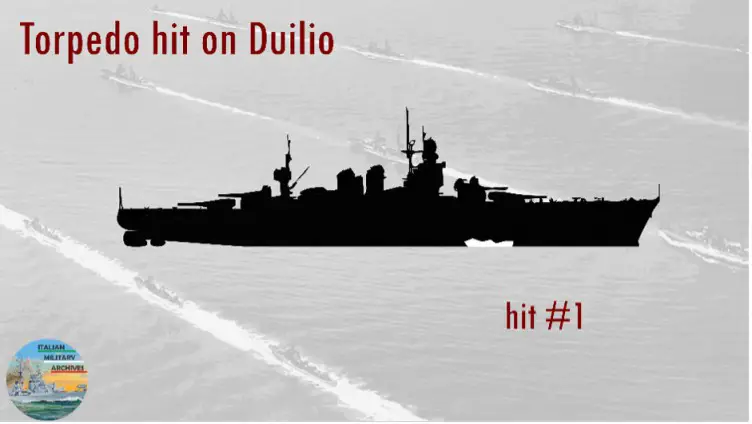
Figure 5 Torpedo hits on Duilio
Battleship Cavour
The most famous images of the aftermath of the Taranto raid are those of the battleship Cavour partially submerged, with only parts of the Superstructures and gun mounts emerging from the water. The torpedo explosion had caused a large hole in the hull and water flooded the entire bow section. Despite the attempts to beach the ship closer to the coast, the Cavour sunk in the shallow waters of Taranto.
Given the higher priority given to the salvage of Littorio and Duilio, and the much more critical situation of the Cavour, salvage works suffered delays and took way longer than the other two damaged battleships. Works on the Cavour began in January 1941 and in order to refloat the ship, top weights were removed where possible, this included the main battery guns (at least those emerging) and things like the range finders and the main fire direction station.
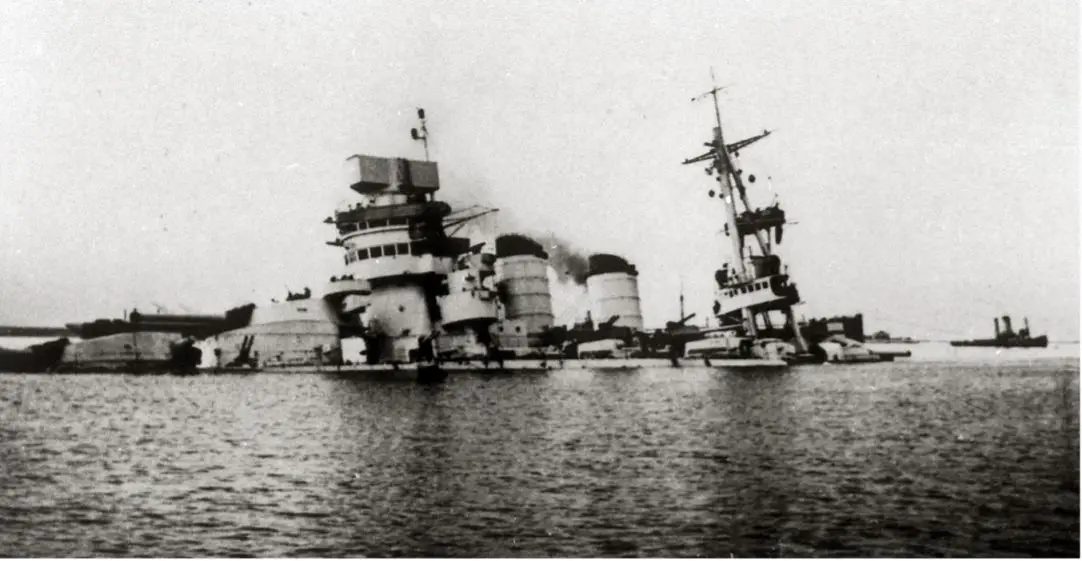
Figure 6 Battleship Cavour partially submerged

Figure 7 Torpedo hits on Cavour
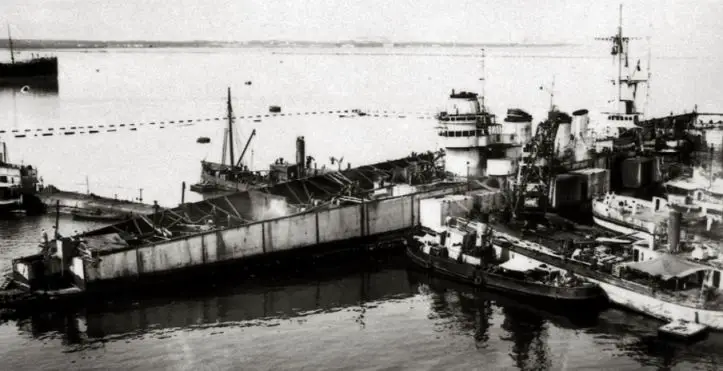
Figure 8 The “Tura” built on Cavour to help pumping out water
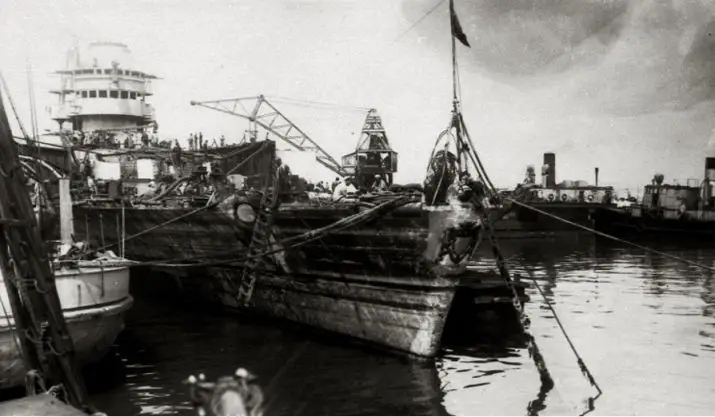
Figure 9 Cavour finally refloated
In parallel, metal plates were attached along the sides of the ships, from the second funnel right up to the bow. This metal wall (called “Tura”) was meant to allow the pumping out of the water from the hull and facilitate the refloating operations. Thrust tanks were attached along the “Tura”. All these operations led to the refloating of the ship in early July 1941 and then the Cavour was moved to the Mar Piccolo (the inner part of the Taranto Naval base) and put into a floating drydock. Here, Italian technicians could finally assess the overall damage suffered by the ship, which was larger than expected. For instance, 25 meters of keel had to be rebuilt, as well as several components of the hull.

Figure 10 Cavour in the floating drydock.
The overall repairs of the Cavour continued to suffer from delays because the limited skilled workforce was diverted to repair works on other warships or merchant ships. Anyway, in December 1941 the battleship was finally able to set sail on her own and departed from Taranto, with destination Trieste. A new modernization was planned for the Cavour, which included the improvement of the secondary and Anti-Aircraft armament. However, material shortages, the low priority of the program and the overall course of the war meant that the battleship never returned to active service. The ship went lost in February 1945 due to an Allied bombing of Trieste, where she capsized at her anchorage.
Sources & Credits
Bagnasco, E., & De Toro, A. (2020). Le corazzate delle classi Conte di Cavour e Duilio (1911-1956).
Bagnasco, E., & De Toro, A. (2020). Le navi da battaglia classe “Littorio” 1937-1948. Roma: Ufficio storico della Marina Militare.
Giorgio Giorgerini (2001), La Guerra Italiana sul mare: la marina tra vittoria e sconfitta 1940–1943, Edizione Mondadori
Pictures come from the Guido Alfano Collection, infographics come from @Italian_Military_Archives